The Shop page is where customers browse all available products. Customizing this page helps create a pleasant browsing experience and highlights your products effectively.
A shop page is essential to your online store as customers will interact with it the most. The look of your WooCommerce shop page leads to the success of your online business. How you arrange your products in a certain way, how detailed the product information is provided, or how easily buyers can find the things they are looking for surely affect the buyer experience.
Creating an attractive and user-friendly WooCommerce shop page that simplifies the buying process, and distinguishes yours from others can bring a big opportunity. These are the revenue, the conversion rates, and further, the reputation of your business.
While the basic WooCommerce shop page template is already functional and good-looking, there are still some inappropriate showcases for certain types of products. If you wish to show off each of your products in the best way, then you should need a custom WooCommerce shop page.
In this article, we will introduce to you the effortless way to customize your WooCommerce shop page using Elementor. You will know what it is, right in the following part.
Already have a pre-designed Shop Page? Here’s how to edit it with Elementor:
Let’s design product shop pages that can be applied to all products on the site.
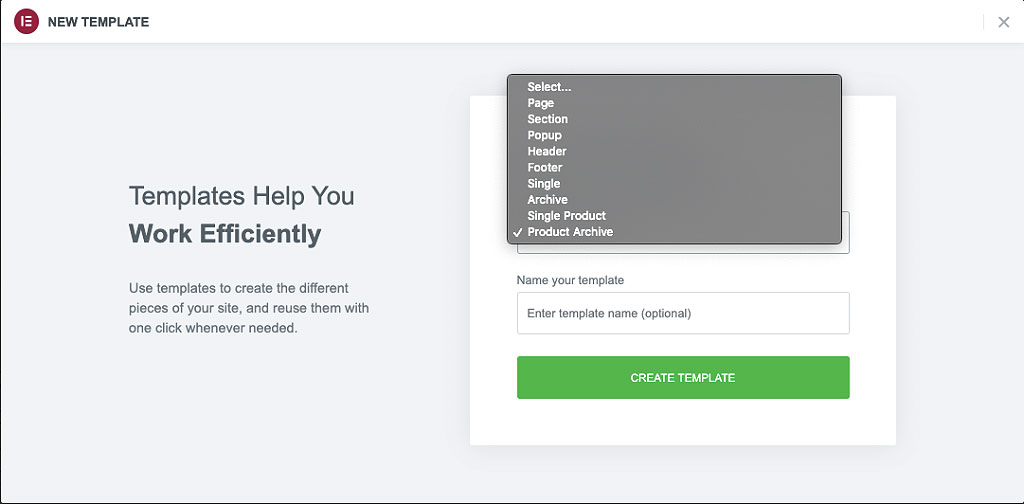
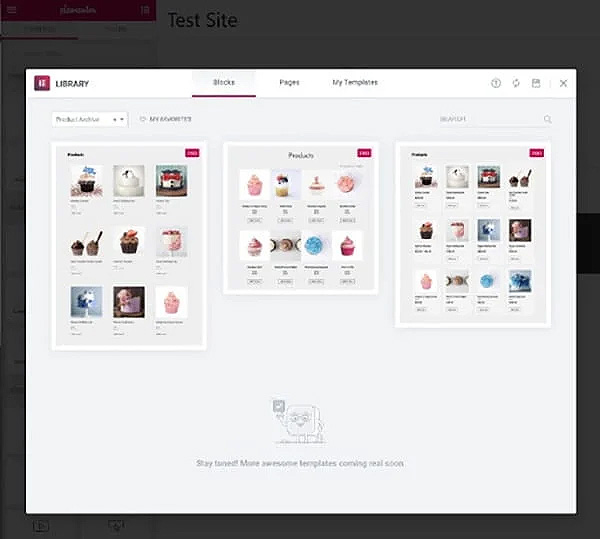
You need to choose a layout you want to customize your shop with Elementor. Alternatively, you can build one from scratch and design it by using special widgets in the editing panel.
We suggest you select one of the available layouts and then customize it to best suit your site.
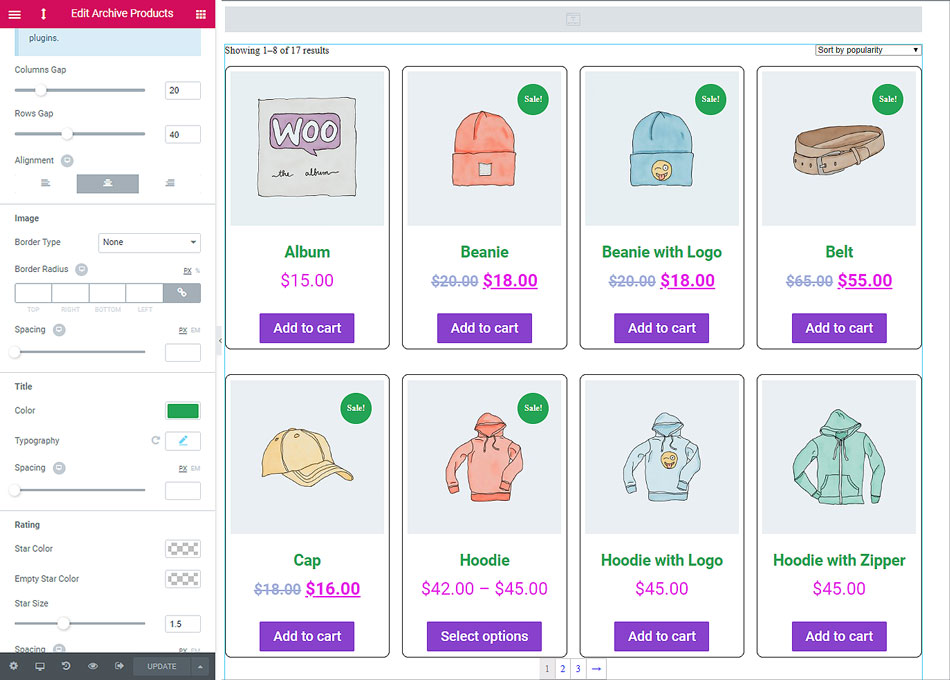
Elementor does provide widgets solely to create a WooCommerce site. You can use these widgets to customize every single corner of your online shop.
Here is a list of Elementor widgets that you can use:
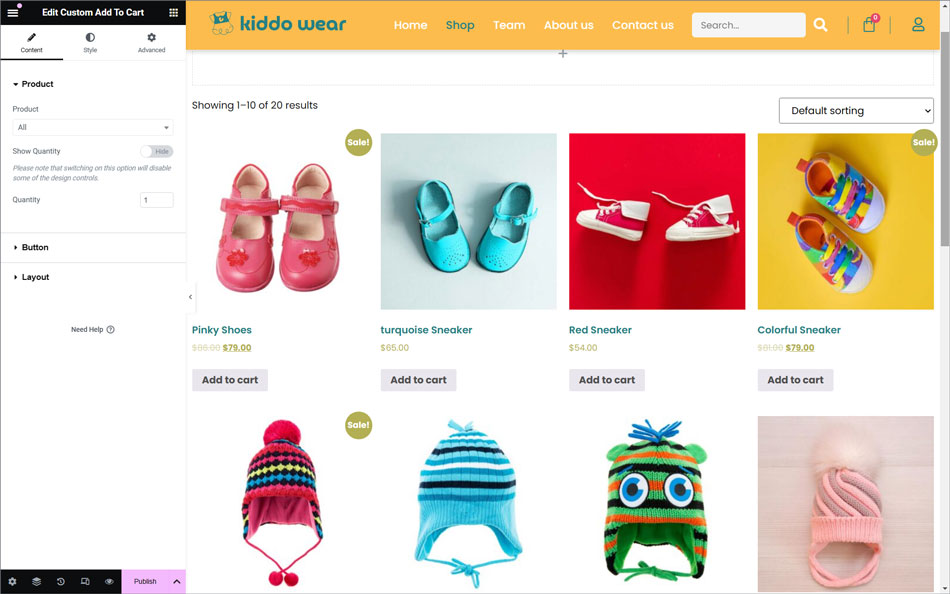
The “Add-to-cart” button is the most important feature of any shop page. What you need to do is make your “add-to-cart” button stand out and catch customer’s eyes.
Click on the “Custom Add to Cart” block and try adjusting to make it in line with your brand style.
Once you’re happy with all the customizations you’ve done to your page, hit the “Publish” button.
Elementor will ask you to set the condition that determines where your template is used throughout your site.
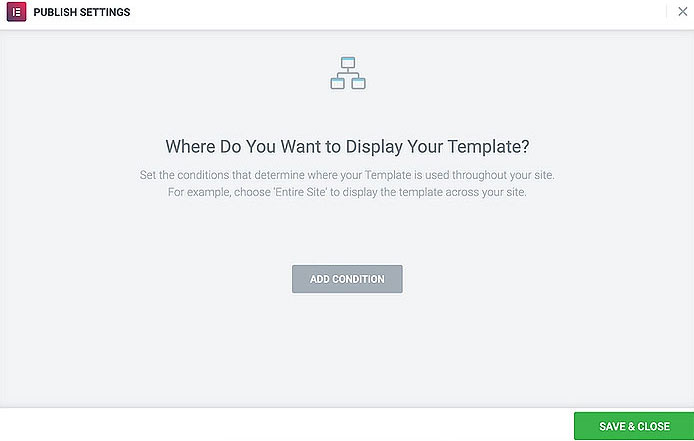
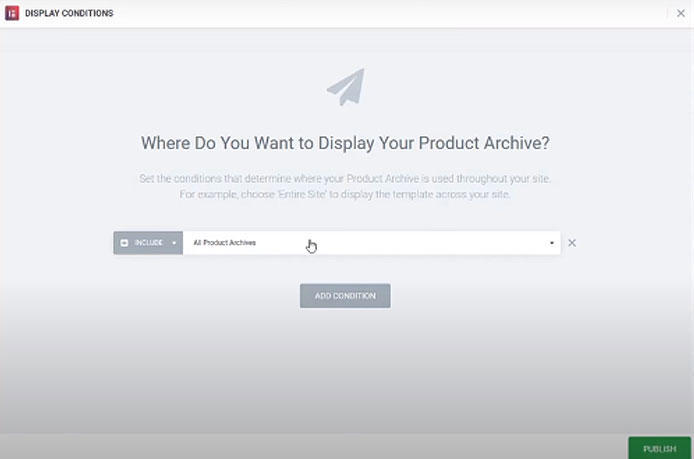
By default, the template will affect all the product pages on your site. You can also select a specific category of products.
Click on “Save & Close” to finalize everything. By finishing this step, you’ve done the WooCommerce shop page customization with Elementor.
To learn more about Woocomerce Product Archives, refer to the following resources: