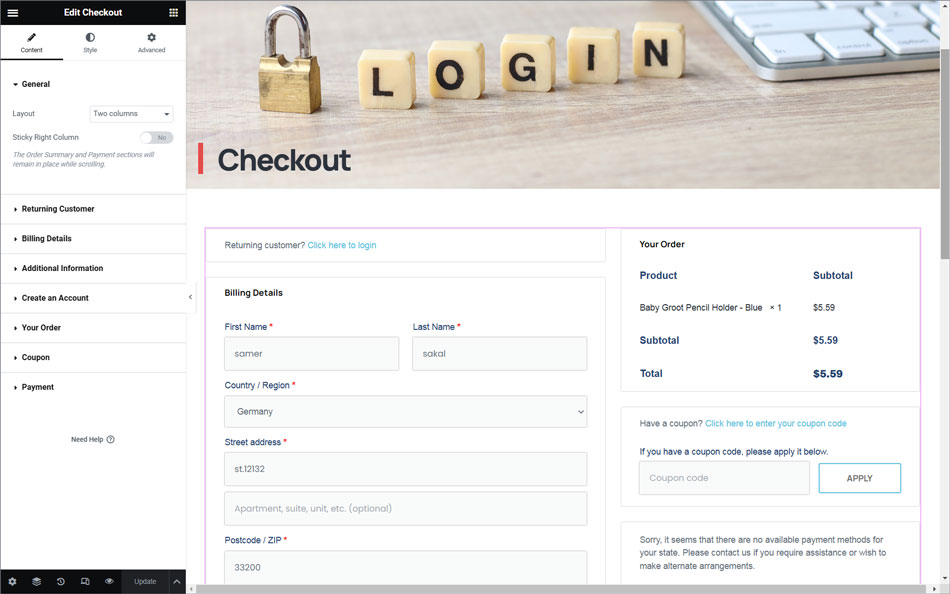
The Checkout page is where customers finalize their purchases. A clear and user-friendly Checkout page is essential for a smooth transaction process.
Next, you can move to the Style tab of the Checkout widget’s settings to further customize the style and design of the checkout page, including making sure it matches the rest of your store’s design.

Here are the general design options that you can configure in the different settings areas…
In the Sections settings, you can control the overall style of all the different checkout parts.
For example, if you change the background color, it will affect the background of all the sections. You can also adjust the border and spacing as needed.
In the Typography settings, you can customize the colors and typography of most of the text on your checkout page, including titles, secondary titles, descriptions, messages, radio buttons, checkboxes, and more.
The one bit of typography that you can’t customize here is your forms, which you’ll do from the next section.
In the Forms settings, you can control everything about your checkout page’s forms and form fields, which primarily affects the billing/shipping fields and coupon form.
You can adjust the columns and rows gap for the various form fields. You can also customize the typography of labels and fields, as well as adjust spacing, borders, and backgrounds.
Beyond that, you also get an option to style the coupon button, just like any other button on your site.
In Order Summary, you can control the rows, which affects the spacing in the list of items in a shopper’s cart.
You can also control the colors and typography of the different summary items. For example, you could use one typography setting for the items and a different one for the order totals.
In the Purchase Button settings, you can fully customize the purchase button, including typography, colors, spacing, borders, and more.
This is probably the most important button on the checkout page, so you’ll want to make sure that it’s attention-grabbing and matches the rest of your design.
Lastly, the Customize item lets you add individual styling controls for specific parts of your checkout page. You can add them for the following areas:
For example, you might want to make the order summary stand out from the rest of the checkout page by adding a custom border.
You could do this by enabling the customize settings for the order summary area and configuring them according to your preferences.
Additional Tips:
To learn more about Elementor Woocomerce Checkout Widget , refer to the following resources: